The process of laying tiles in the bathroom is the most important stage of the renovation work. You need to be careful and follow some rules. Find out more information on https://renovation.irish about this process in order to cope with it easily. Let’s consider the basic rules that will help you achieve effective results.
Proper preparation
You should properly prepare for such work. Among the main points:
- Selection of tiles. For the bathroom, choose moisture-resistant tiles with an anti-slip coating. Ceramic and porcelain tiles will be an excellent option.
- Preparation of the base. It should be flat, clean and dry. If necessary, use a self-leveling mixture to level the surface.
- Waterproofing. Be sure to waterproof the walls and floor to prevent moisture penetration. Use special waterproofing materials.
Also prepare the necessary materials and tools for the work. These are tiles, glue for them, grout, level, tape measure, crosses, cutter and a special spatula.
Laying tiles
The work is carried out in accordance with certain stages. Among the most important points:
- Marking. You should start by marking the surface of the walls and floor. Determine the center of the room, draw lines vertically and horizontally. This way you will be able to lay the tiles symmetrically.
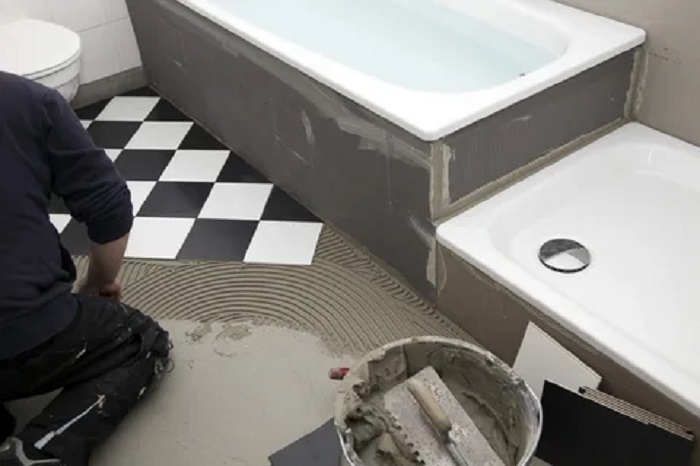
- Applying glue. Use a notched trowel to apply the glue evenly to the surface. The areas should not be too large so that the composition does not have time to dry.
- Laying tiles. You need to start work from the center or corner, which depends on the marking. Install the tiles, pressing them lightly against the glue. Use crosses so that the seams are uniform.
- Checking the level. Check the level of the tiles with a building level. This will prevent various unevenness.
Use a tile cutter for laying on corners and edges. Work carefully so as not to damage the material.
Grouting
After the glue has dried (you need to wait 24 hours), you can start grouting the seams. Apply the composition with a rubber spatula, filling absolutely all the seams. Remove excess grout with a damp sponge.
Completion of work
After the grout has dried (usually after a few days), treat the seams with a special water-repellent composition to protect the surfaces from moisture and mold.
If you doubt your abilities, it is worth entrusting the work to experienced professionals. They will do everything correctly, so the surfaces will last as long as possible!